DIY Ultimaker Clone
Hacks & Contraptions
I have been playing with 3D printers since 2009. It took me some time to really get my head around where it made sense to use, but when that happened I started making bigger and more elaborate projects. I have had access to several different 3D printers, but when you really want to experiment with a tool like that, it just makes more sense to have one at home. So I started researching different models. I have always told people that I have introduced to 3D printing, that there are two main paths to go. Either you care mostly about what can be made with a 3D printer or you care about the whole process of building the machine. If you are the first type, I always suggest to buy a ready-made printer, or a well-documented kit. Never try to build one from scratch if you do not care about how the printer works, or how to make one. Even if it seems tempting to do so (often to save some money). Just don’t do it, so many have failed trying to do that. Even though a 3D printer seems like a simple thing, there are quite a lot of things that are important to know about, and to be able to tweek to get the printer work properly. I ended up working against my own advice, which of cause resulted in me hitting quite a few walls before I had my completely finished functioning 3D printer.
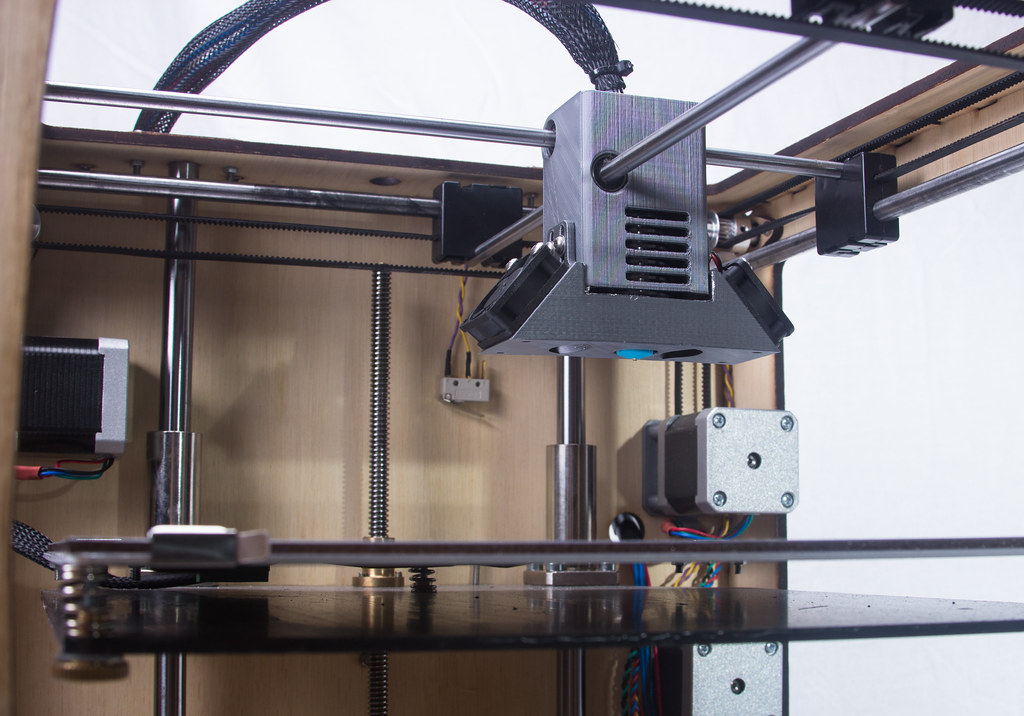
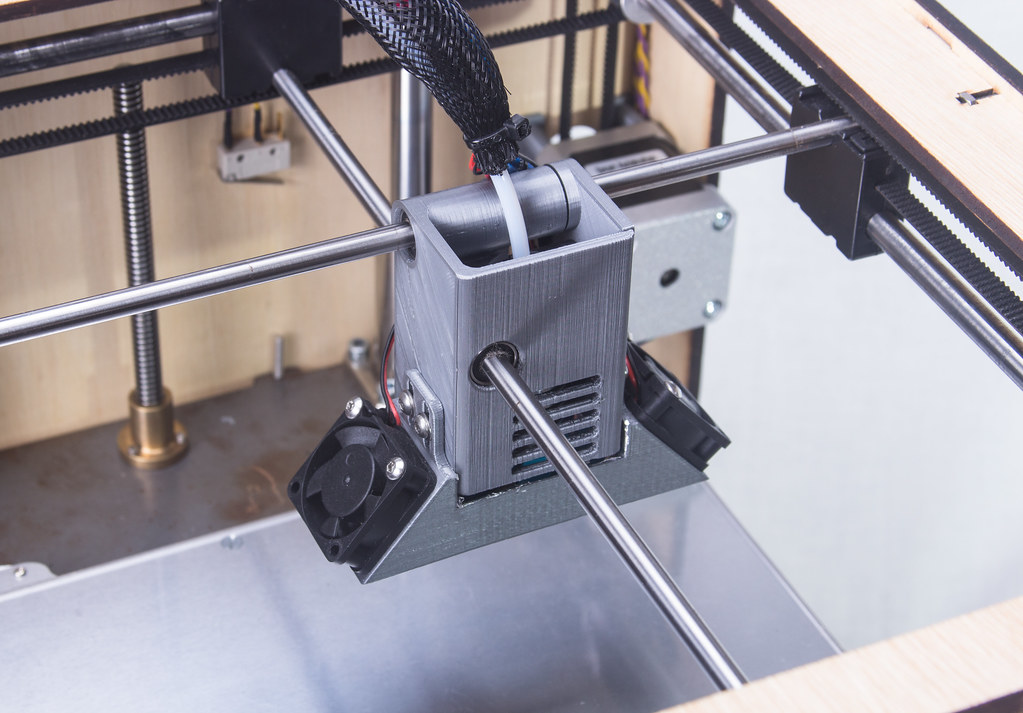
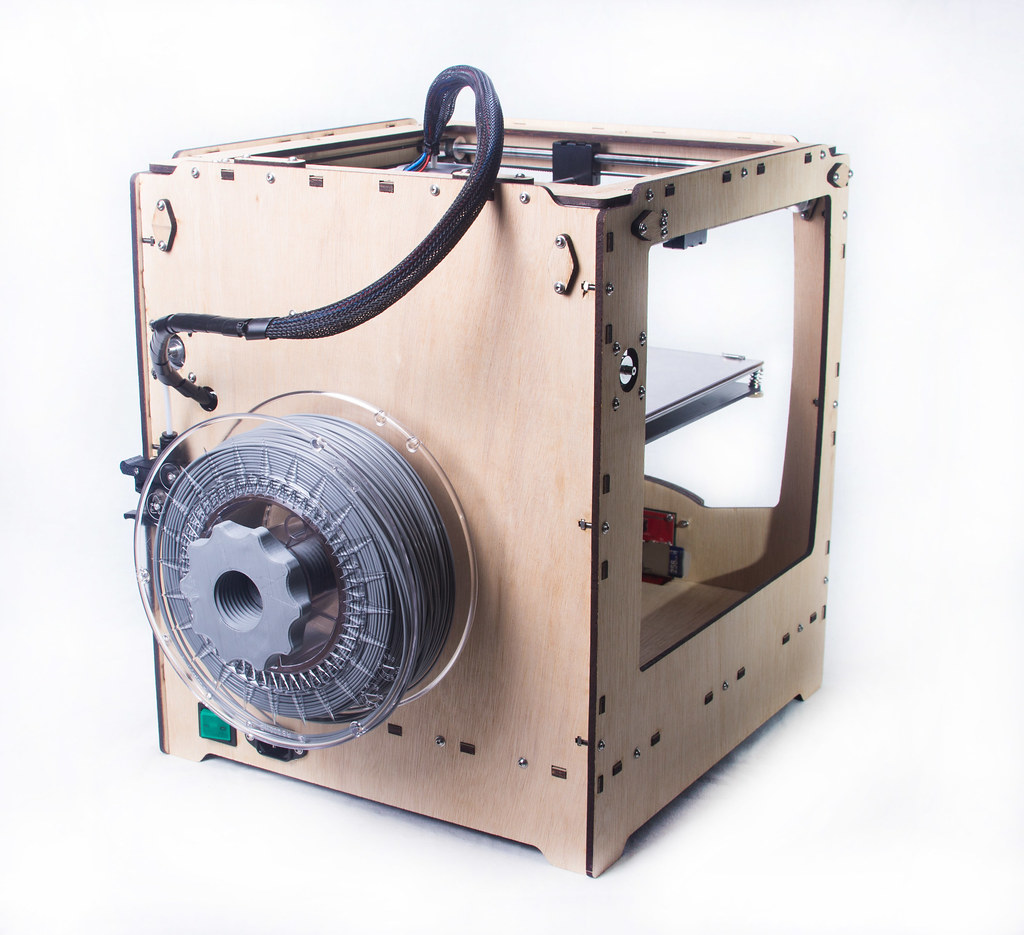
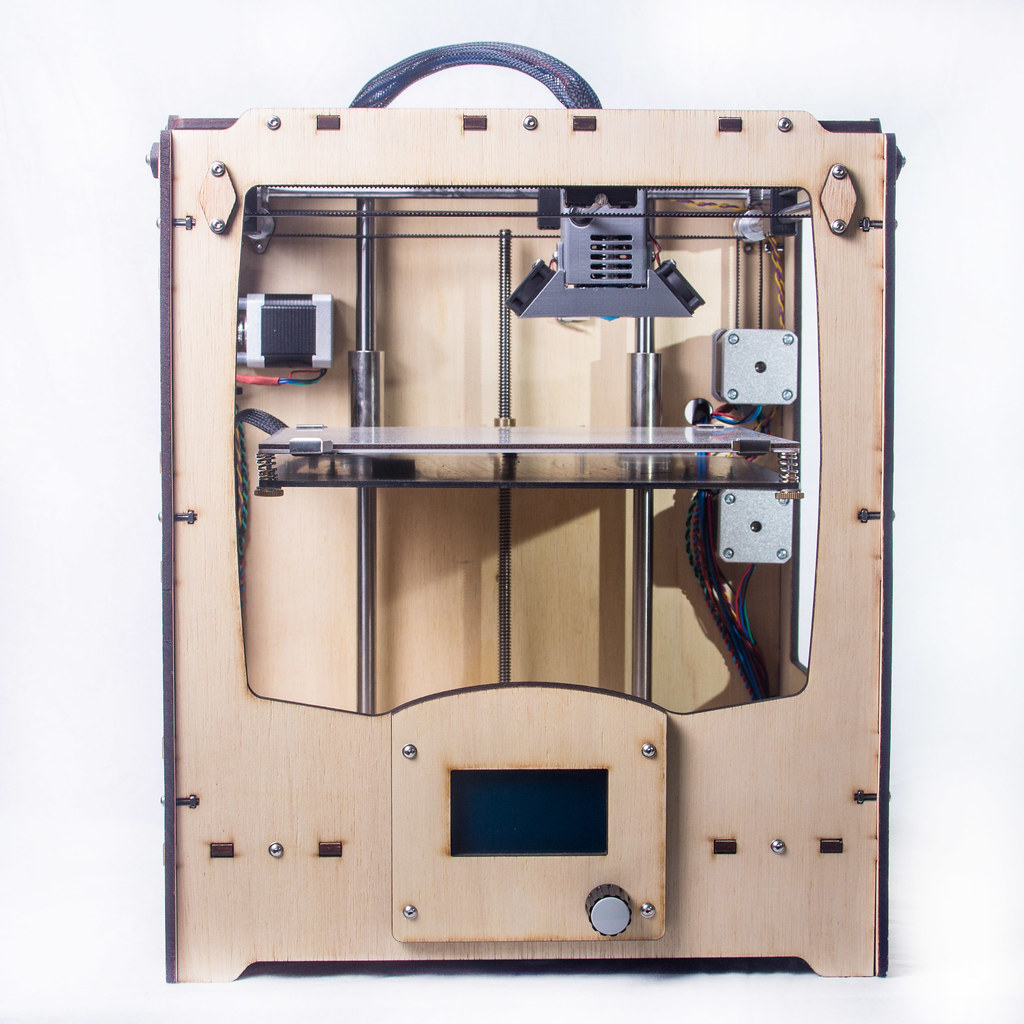
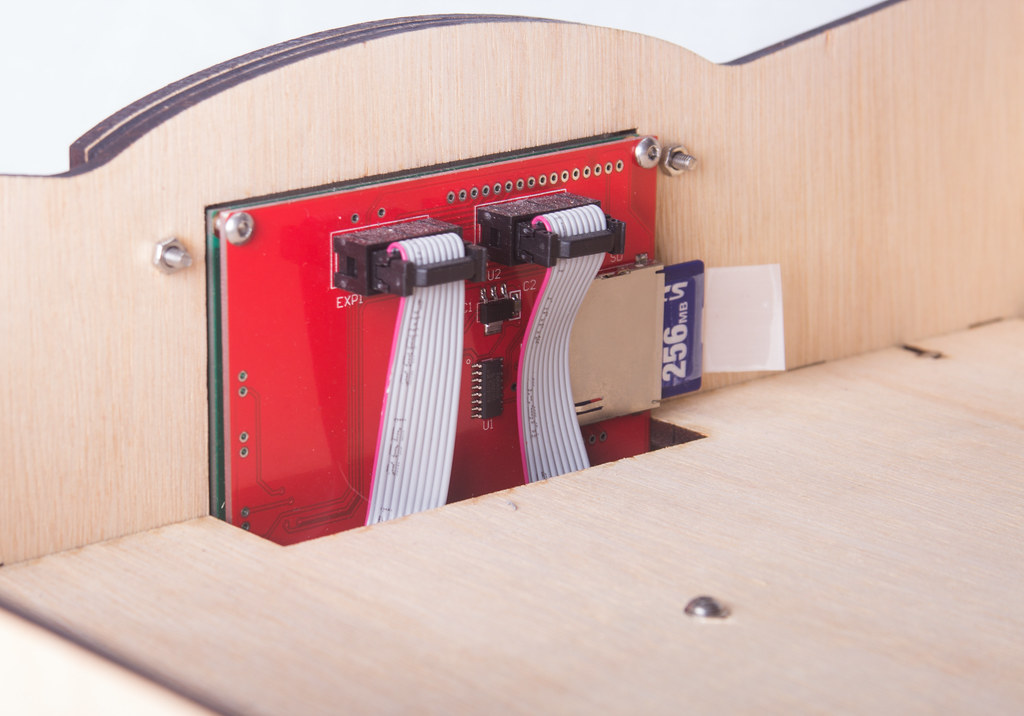
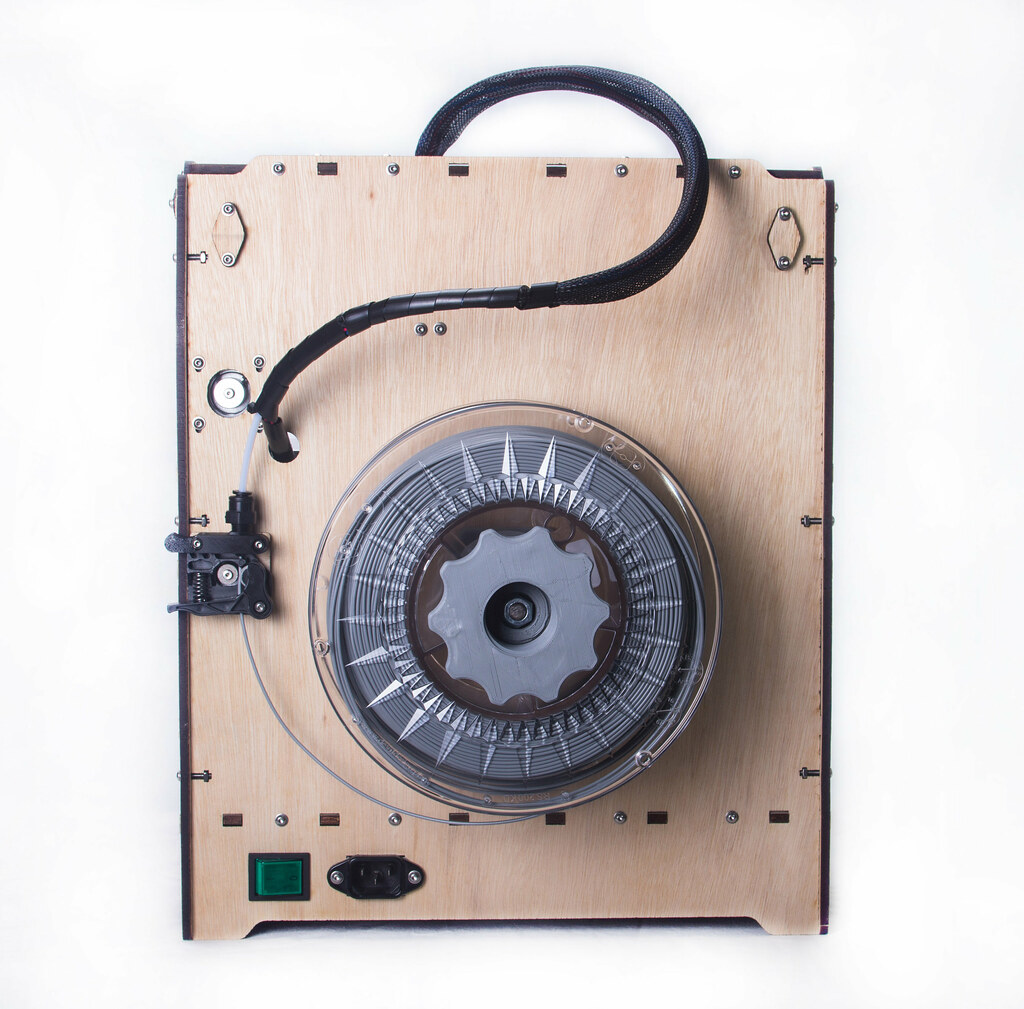
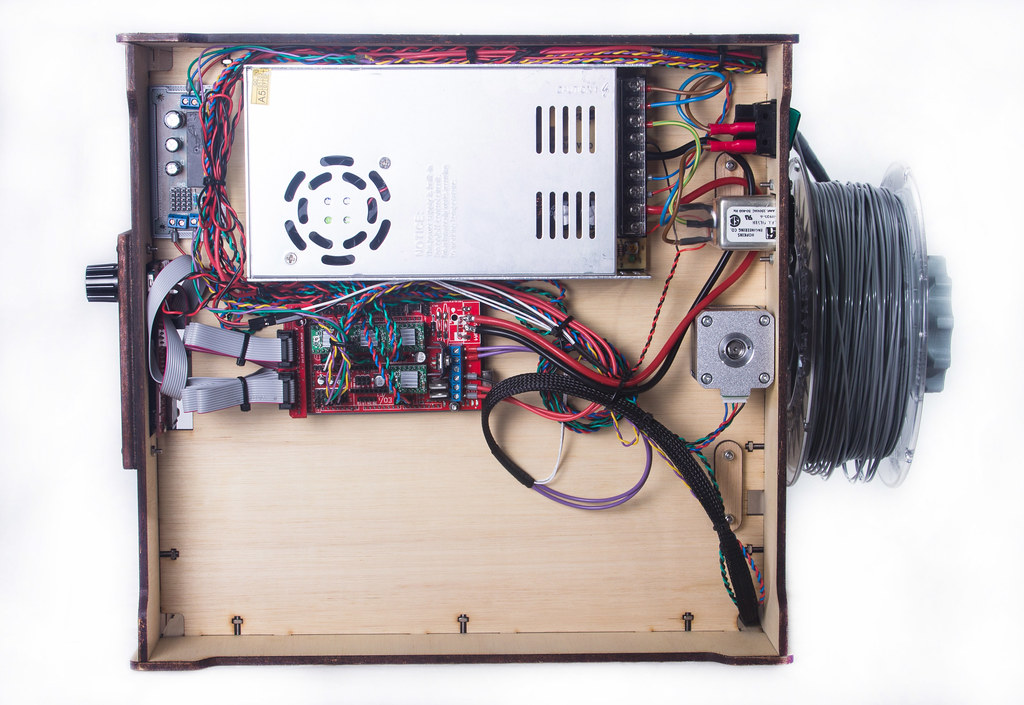
My dilemma was, that my budget was insanely limited, around 400$ The obvious and easiest choice would have been to build a Prusa i3 Clone. But I am not a fan of its form factor. I like the simple and practical design of the Ultimaker 3D printers, it fits better into my apartment. But those are rather expensive, the Original kit is about 1500$. And at that time the ultimaker 2 and 3 were out, with a lot of nice improvements. It took me quite a while to decide what to do. I ended up deciding to make a mix of an Ultimaker Original and an Ultimaker 2. Trying to incorporate all the main improvements of the second revision in to the simple wooden frame of the first. It was an interesting process, and I have learned a lot from it. At least i am now able to service every single part of the printer, since I did build all of it. The mods I made to the original, were extending the height, so I could mount the power supply underneath the printer. Replace the wooden build-platform, with one made out of 2mm laser cut steel, which is a lot stiffer. I also went for a printhead like the printhead of the second revision, but with an E3D v6 extruder. I used a Ramps 1.4 Board to run it all, and modified the front of the case, so I could use a cheap graphic LCD as a control interface. The front is designed to be replaceable, in case I want to go for another display, and input-interface in the future. It took a long time, a lot of hard work, and a good bit of help from a friend, to get it all up and running. But now it runs really well, and I am extremely happy to finally have a fully working 3D printer at home. There are still a couple of things I want to improve, like upgrading the the stepper drivers to some that make the printer more quietly. But for now, I need to go play, experiment, and make things :)